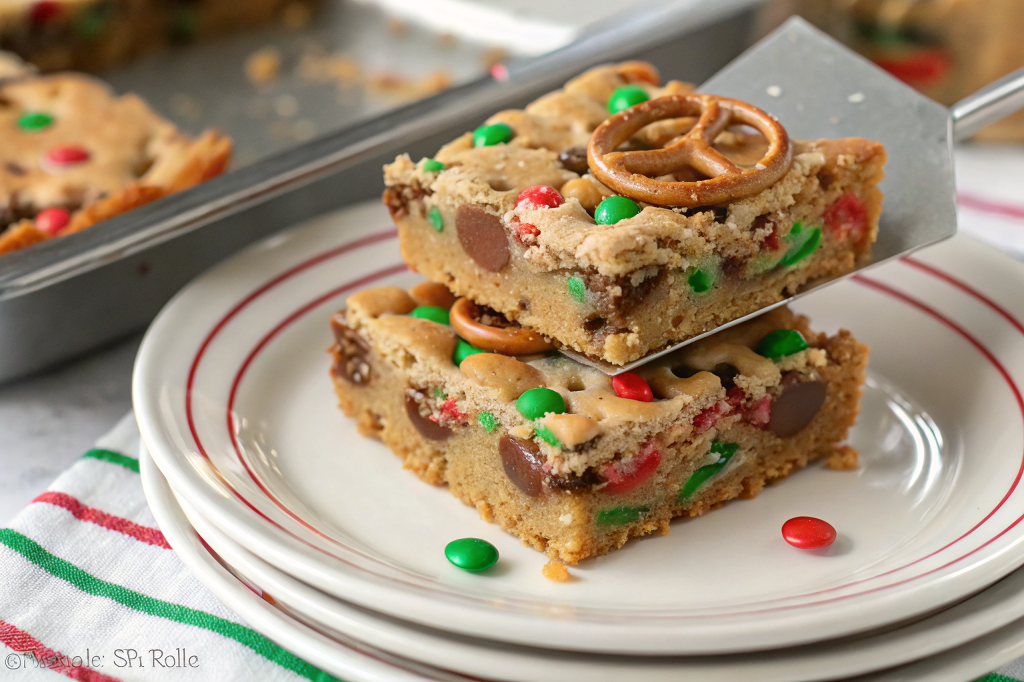
These Holiday Kitchen Sink Cookie Bars are the ultimate festive treat for when you just can’t decide on one flavor! I remember the first time I made these for a neighborhood holiday party—I literally threw in a handful of everything left in my pantry, and they became an instant legend. They are thick, chewy, and loaded with a “kitchen sink” of mix-ins like salty pretzels, sweet M&M’s, and gooey caramels. Because they are baked in a single pan, they are much faster than individual cookies, making them my go-to for busy holiday schedules. Every bite is a colorful, flavor-packed surprise that truly captures the joy of the season!
Prep Time: 15 min | Cook Time: 18 min | Total Time: 1 hour 33 min
Key Ingredients
- 3/4 cup Unsalted Butter: Melted to create a dense, chewy texture.
- Sugars: 3/4 cup light brown sugar for moisture and 1/2 cup granulated sugar for sweetness.
- 1 Large Egg + 1 Extra Yolk: The extra yolk is the secret to a rich, fudgy bar.
- 2 teaspoons Vanilla Extract: For a deep, bakery-quality aroma.
- 2 cups All-Purpose Flour: The base (add 1/4 cup extra if your dough feels too runny).
- Leavening & Salt: 1 teaspoon baking soda, 1/4 teaspoon baking powder, and 1/2 teaspoon salt.
- The “Kitchen Sink” Mix-ins: 1/2 cup each of chocolate chips, holiday M&M’s, broken pretzels, and chopped caramels.
- 2 tablespoons Holiday Sprinkles: Use “jimmies” for a bright pop of festive color.
Step-by-Step Instructions
- Prep the Station: Preheat your oven to 350°F. Grease a metal 9×13-inch pan or line it with parchment paper for easy removal. Chop your soft caramels into small, bite-sized pieces.
- Melt and Mix: Melt the butter in a microwave-safe bowl. Let it cool slightly, then stir in both sugars using a spatula. Chef’s Note: Do not use an electric mixer; stirring by hand keeps these bars dense and chewy!
- Add Wet Ingredients: Stir in the whole egg, the extra yolk, and the vanilla extract until fully combined. Mix in the baking soda, baking powder, and salt.
- Incorporate Flour: Add the flour and stir just until it disappears into the dough. If the dough looks runny, add that extra 1/4 cup of flour now.
- Load the Mix-ins: Add the chocolate chips, M&M’s, pretzel pieces, caramel chunks, and sprinkles. Stir until everything is evenly distributed.
- Press and Bake: Press the dough evenly into your prepared pan. Smooth the top and press a few extra M&M’s or pretzels into the top for a professional look.
- Bake: Bake for 16–18 minutes. Look for the edges and top to be lightly golden. The center should not look wet, though it may still be soft.
- Cool and Slice: Place the pan on a cooling rack. You must allow these to cool completely in the pan before slicing; this allows the caramels to set so you get clean squares.
Serving Suggestions
- The Holiday Platter: Slice into 48 bite-sized squares and arrange them on a tray with sprigs of rosemary for a festive look.
- A La Mode: Serve a warm bar with a scoop of salted caramel ice cream for a decadent plated dessert.
- Gift Bags: These bars are sturdy! Wrap individual squares in festive cellophane bags for delicious stocking fillers or teacher gifts.
- Hot Cocoa Companion: Enjoy a square alongside a mug of peppermint hot chocolate.
Storage & Make-Ahead Tips
- Room Temperature: Store in an airtight container for up to 3 days.
- Freezing: These freeze beautifully. Wrap cooled bars tightly in plastic wrap and foil, then freeze for up to 3 months.
- Make-Ahead: You can bake these a day before your event; the flavors actually deepen, and the texture stays perfectly chewy.
Tips & Tricks
- The Caramel Choice: Use soft caramels like Kraft or Werther’s Soft. Hard caramels will melt too much and can become rock-hard once the bars cool.
- Pretzel Crunch: Don’t crush the pretzels into dust! Leave them in distinct “chunks” so you get a satisfying salty crunch in every bite.
- Avoid the “Wet” Center: If your oven runs cool, you may need up to 20 minutes. Just ensure the very center of the pan has lost its “shiny” wet look before pulling them out.
Common Mistakes to Avoid
- Using an Electric Mixer: Beating the dough adds too much air, which will make these more like “cake” than “chewy bars.” Stick to a spatula!
- Cutting Too Soon: If you cut these while warm, the caramel and chocolate will smear, and the bars may fall apart. Patience is key!
Chef’s Advice
- Flavor Variations: Try using peanut butter chips instead of chocolate chips for a “salty-sweet” peanut butter twist.
- Ingredient Substitutions: If you don’t have M&M’s, chopped-up peanut butter cups or white chocolate chunks work perfectly as well.
- Presentation: Sift a tiny bit of sea salt over the top right when they come out of the oven to enhance the “kitchen sink” savory-sweet profile.
History and Cultural Significance
The “Kitchen Sink” dessert is a classic American concept rooted in the philosophy of “waste not, want not.” While it likely evolved from the 1950s “Everything but the Kitchen Sink” sundae, these cookie bars became a holiday staple because they allow families to use up the various baking scraps left over from making multiple batches of traditional holiday cookies.
Final Thoughts
These Holiday Kitchen Sink Cookie Bars are a celebration of abundance! They are colorful, crowded with flavor, and impossible to resist. Whether you’re baking for a crowd or just treating your family to something special, these bars are the ultimate way to spread holiday cheer!
Nutrition Information Table + Disclaimer
| Serving Size | Calories | Protein | Carbs | Fat | Fiber | Sugar |
| 1 large bar | 414 | 4g | 52g | 22g | 1g | 31g |
Disclaimer: Nutrition information is estimated using standard online calculation tools and may vary based on ingredients and preparation methods. For accurate dietary advice, consult a qualified nutrition professional.